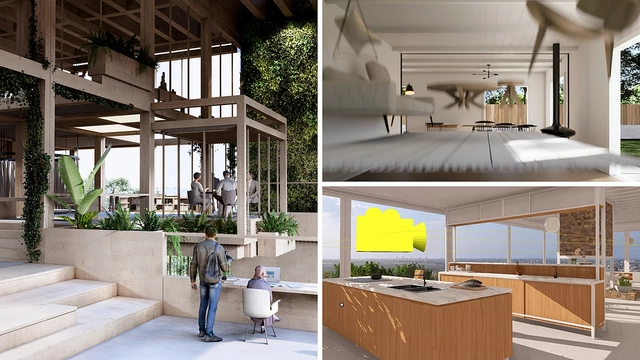
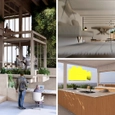
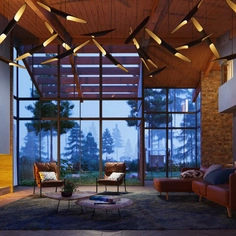
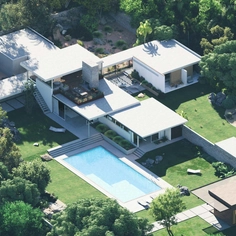
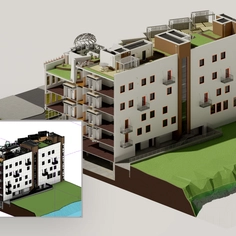
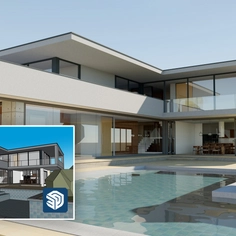
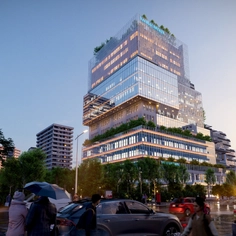
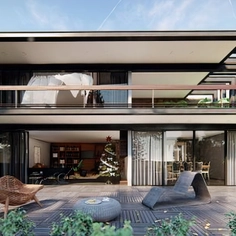
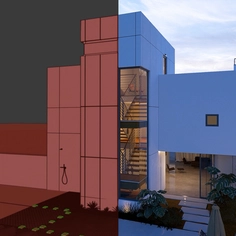
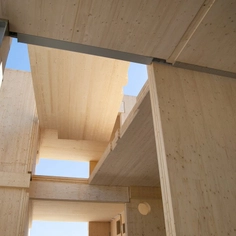
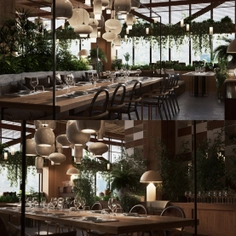
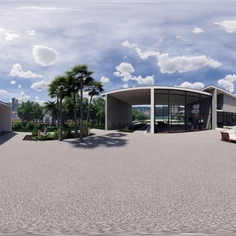
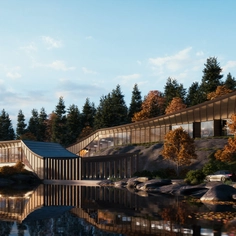
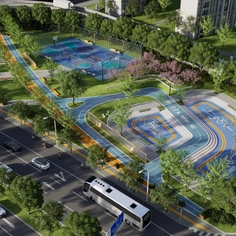
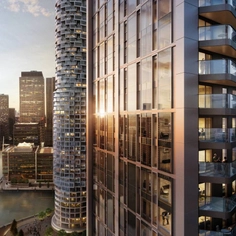
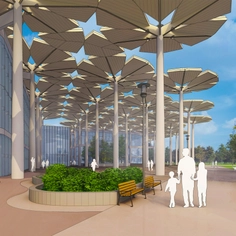
Video renderings offer a dynamic, engaging way of showcasing a design and telling its story. With multiple animation tools available in Lumion, videos can be tailored to emphasize the exact elements that make your design unique.
Here are a few simple ways to create cinematic video animations in Lumion.
Show Evolution With Phasing Animations
Lumion’s animated phasing effect allows you to illustrate the transformation of a space over time and to provide clients with an immersive understanding of how a design comes together.
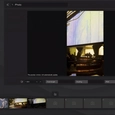
To create a phasing animation, start by importing all the objects you wish to animate and assigning them to layers. Next, open Movie mode, click on Add effect, go to the Animation tab, then choose Animated phasing.
Here, you’ll be able to select the objects, adjust the duration, and choose the type of animation your objects will have when they enter the scene.
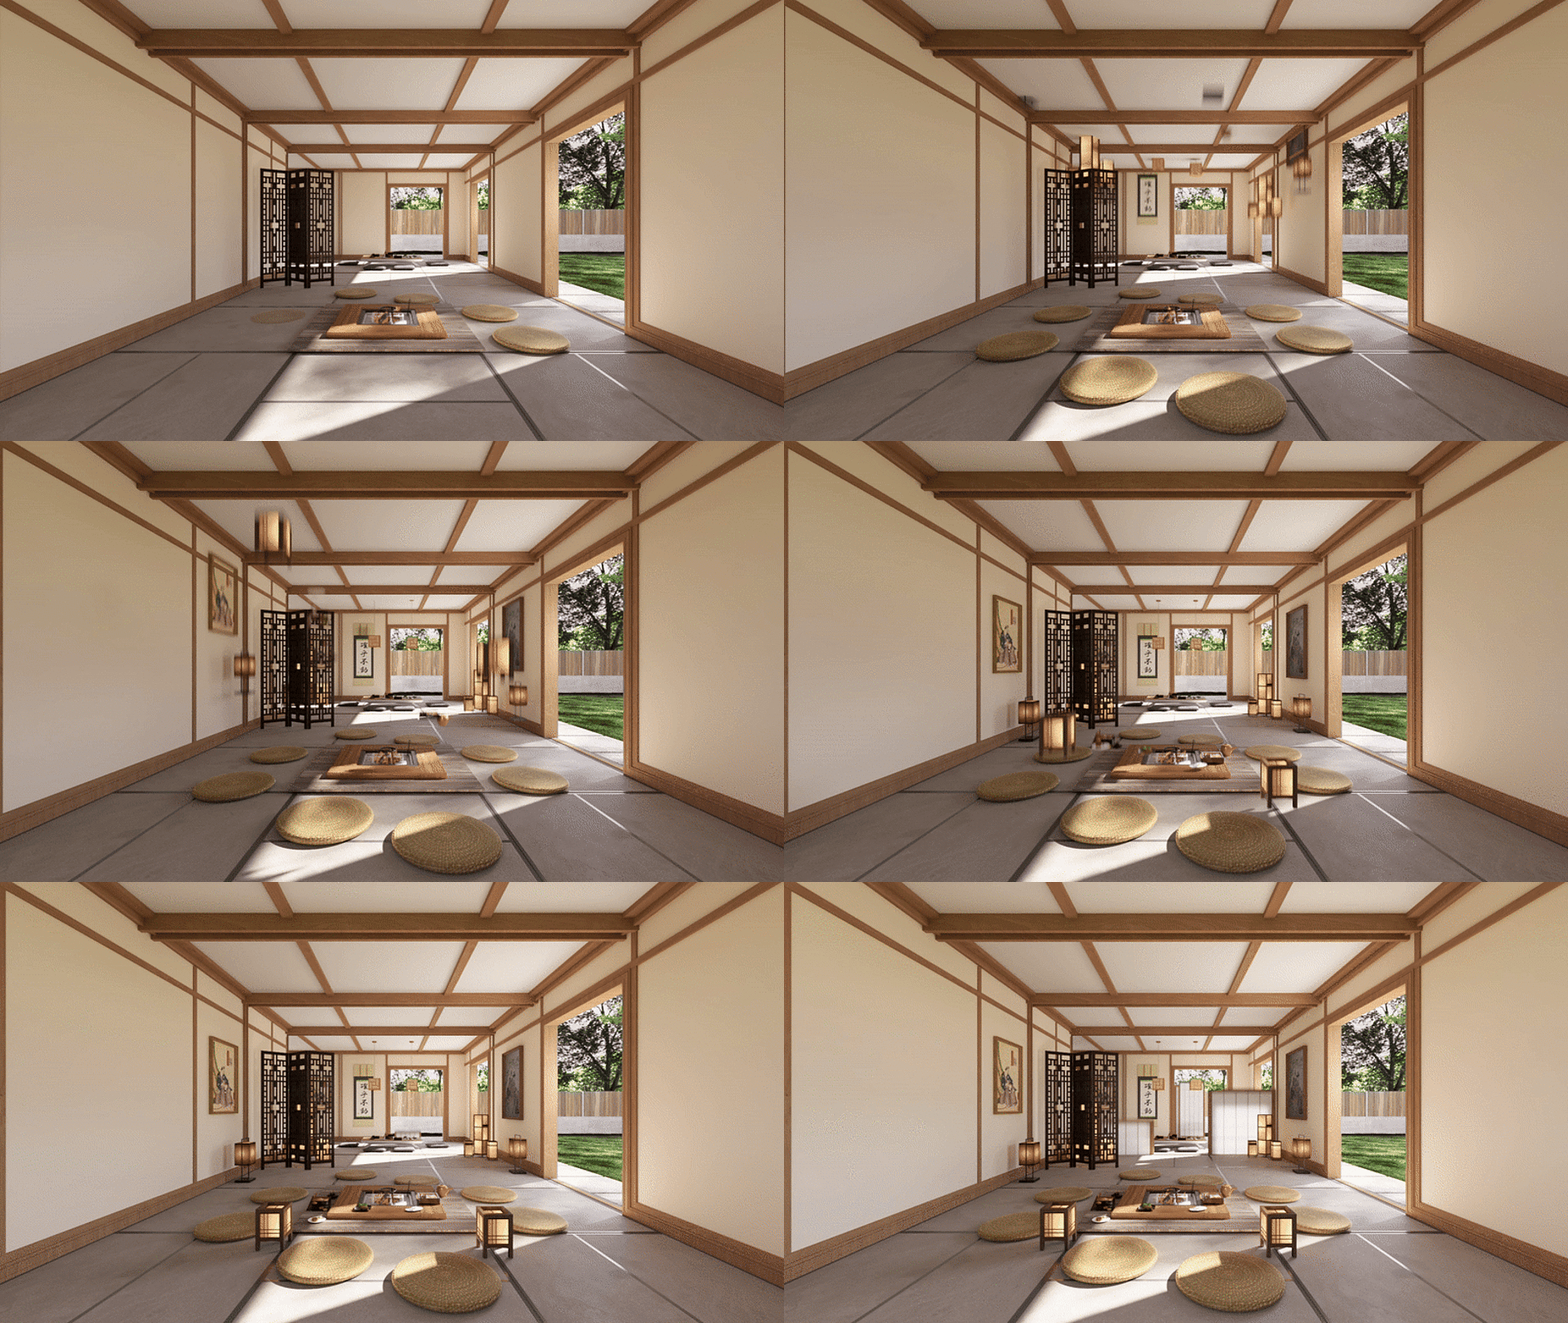 |
| Japanese phasing animation |
Choose the Perfect Camera Path
Camera paths provide a captivating journey through your design, allowing you to highlight key details and features and present your project in the very best light.
In Lumion, you can choose to use a preset camera path or a custom one. The preset paths offer a quick and easy way to enhance the storytelling in your animations.
To select one, simply start in Movie mode, select an empty clip, and then click on the Add camera preset path button. You’ll see four different camera movement types to choose from: Orbit path, Dolly shot, Pan/tilt shot, and Follow object.
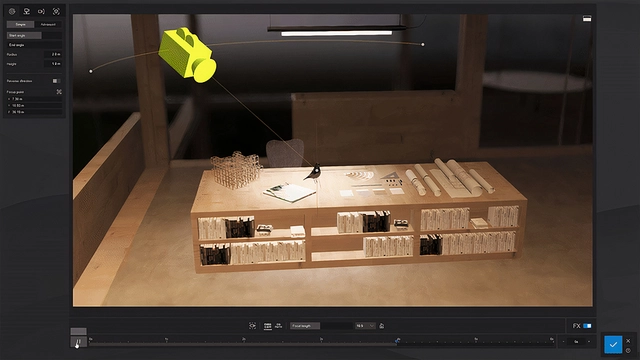 |
| Orbit camera path |
 |
| Pan camera path |
 |
| Tilt camera path |
You can utilize these ready-made paths according to your desired result, whether that’s following action, creating depth, or adding cinematic flair.
See a quick demonstration of these camera paths in action.
Import Custom Tracking Spots
If you prefer to craft the visual narrative of your video in the exact way you choose, you can import a custom camera path into Lumion instead.
With greater artistic control, you can manipulate the shot speed, angles, and transitions to evoke certain feelings or convey a particular ambiance.
You can achieve this in 3ds Max in just 10 simple steps.
Pick Your Preferred Aspect Ratio
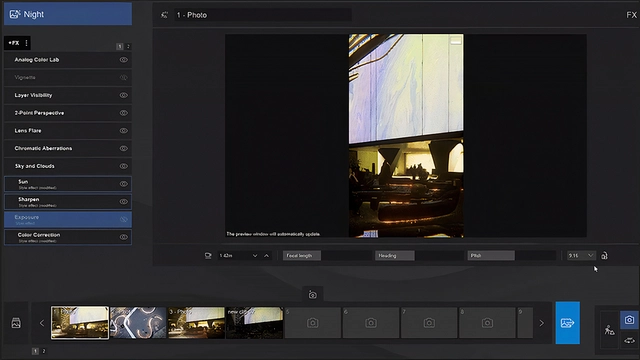
Whichever effect you go for, you can render it in an aspect ratio of your choice in Lumion. Select the 16:9 landscape format, flip it to 9:16, or select any of the other four options for a perfectly framed video rendering.
Create Your Own Animations
Combine these tools to craft tailored virtual tours of your own designs. Put your creative skills to the test with a free 14-day Lumion Pro trial.
View some of the impressive video animations crafted with Lumion
Take a look at some descriptive GIF files for the four camera movement types in the Product File section.


