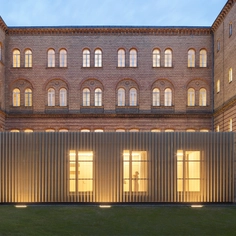
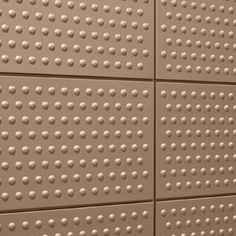
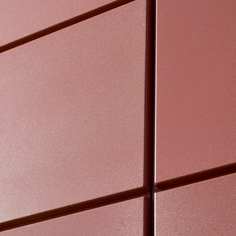
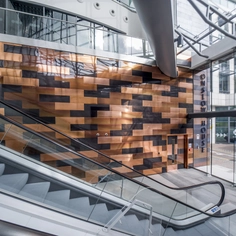
Parallel Architectural Products specializes in providing top-quality wood-look aluminum solutions, made in the USA. Parallel's cladding systems provide the aesthetic appeal of wood with the durability of aluminum and are suitable for facades and interiors. The cladding systems offer weather resistance, fire resistance and a contemporary design.
Before installing cladding
- Check your order is correct and there are no defects or damage. Do not install products that are damaged or defective. Products that are cut and/or installed will not be eligible for replacement or full refund.
- Use appropriate personal protective equipment (PPE), such as eye protection, ear protection, gloves, long sleeves, and pants.
- Thoroughly review and understand the Parallel system before beginning installation. Plan ahead to minimize waste.
- For horizontal cladding, installation can be either top-down or bottom-up. Begin at the top of the structure and work downward, or start from the bottom and work upward.
- For vertical cladding, install from left to right or right to left, starting at either end of the wall.
- Parallel cladding woodgrain patterns repeat every 4 to 6 feet, so plan carefully for a consistent finished appearance. Using material from multiple boxes in a single section is recommended.
- Do not install directly over pressure-treated materials without using a protective barrier.
 |
Tools required
- Sliding compound miter saw and small table saw with 80T non-ferrous metal cutting blades.
- Bi-metal hole saw for holes up to 4”, and bi-metal jigsaw for larger holes.
- Miter saw cutting fence, especially important for cutting trim.
- Dead-blow hammer, 45 oz. recommended.
- Other common tools: screw gun, tape measure, level, etc.
Expansion and contraction of aluminum
Aluminum expands and contracts with temperature changes. A 20’ piece of Parallel Cladding will expand by 3/8” with a 100°F change. Secure the center of each piece with a set screw to allow equal movement at both ends. Use butt joints to lock cladding pieces in place, enabling expansion into trim. For runs longer than 40 feet, use joiner pieces (C-JTF Female Base and C-JTM Male Top Joiner) to allow for movement.
Installation tips
- Cover exposed cuts at joints to hide raw aluminum using paint pens or exterior spray paint.
- Add expansion joints for siding or soffit runs over 20 feet.
- Vary sections to avoid noticeable repeat woodgrain patterns, which repeat every 4-6 feet.
- Use product from multiple boxes in each section to increase pattern and color variety.
Fastening information
Parallel aluminum clips are designed to create a rear ventilation plane and accommodate movement due to thermal expansion and contraction. A #10 corrosion-resistant screw, suitable for use with aluminum and the specific climate, should be used. The screw length will depend on the substrate thickness, and all screws must penetrate the studs.


