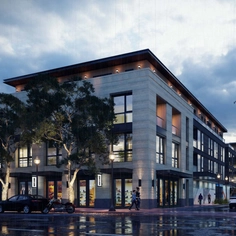
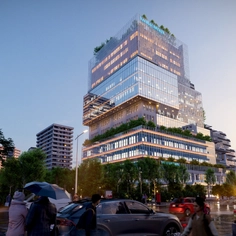
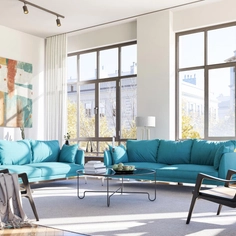
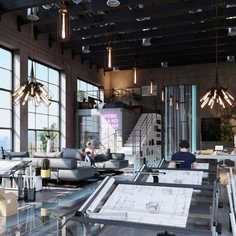
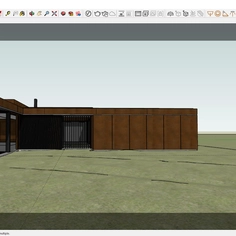
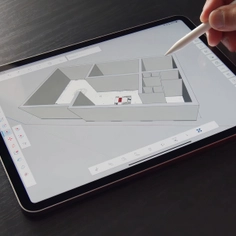
-
Use
Architectural visualization, architectural design, landscape architecture, interior design, urban design -
Applications
Rendered images, videos, 360° panoramas suitable for VR -
Characteristics
High-speed, high-quality realistic renders, compatible with major CAD and 3D modeling software, works with ray tracing, intuitive user experience, fast learning curve, atmospheric rendering effects, animated phasing, orthographic views, easy to use photo and video presets
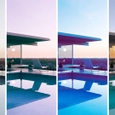
Lumion’s color correction effect offers an easy way of infusing atmosphere into your renders. One simple yet impactful aspect of the effect is Look-Up Tables (LUTs), which allow the aesthetic and mood of your scenes to be transformed with the touch of a button.
In this guide, we’ll show you how it’s done.
What are LUTs?
|
|
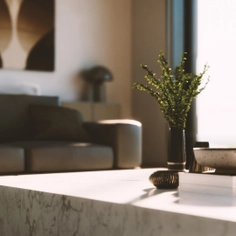
LUTs offer a quick and easy way of influencing the overall feeling of a render. Whether you notice it or not, sepia tones tend to tell a story of nostalgia, pastels help create a soft, dreamlike quality, and warm hues often evoke a cozy, inviting feeling.
Lumion comes with 12 ready-to-use LUT presets to help you achieve your desired look in seconds, as well as the option to load a custom file of your own.
By applying the same LUTs to a series of visualizations, you can also help maintain a cohesive visual style, effortlessly infusing your chosen mood and creating a signature look while you’re at it.
How to use them
LUTs work by changing all of the tones of your image in one go. You can either use one exactly as it is, or select one and tweak its properties using the other color correction settings.
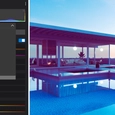
You can find LUTs under effects in photo, movie, or 360 panorama mode. Once you’ve located the color correction effect, you’ll see the options to either select or load an LUT underneath the histogram.
To select a preset, simply click the drop-down menu and choose from the options available.
 |
You can also load a custom LUT file (.cube) using the folder button. If you need help finding the perfect LUT file for your project, there are some handy resources here.
Perfect the properties
After applying your preferred LUT, you might still want to fine-tune the color correction settings to achieve your desired outcome.
Underneath LUTs, you'll discover a range of settings designed to help you refine the composition of your renders.
You can adjust the temperature to control the warmth or coolness of your scene, tweak the tint to rectify any color imbalances, modify the contrast to enhance depth, and make many more alterations to perfect your visuals.
By carefully adjusting these color correction settings, you can tailor the atmosphere of your render to evoke specific emotions, enhance storytelling, or achieve a desired aesthetic. While a green tint can inspire a sense of tranquility and harmony, increased contrast can make an image appear more dynamic, conjuring a sense of energy and liveliness.
Try it out
If you’re new to Lumion, you can put this tutorial to the test for free with a 14-day Lumion Pro trial. You’ll get access to the latest version of the software, where you can explore the full range of features and effects available.


