-
Use
Architectural design -
Applications
Vizualizations -
Characteristics
Real-time rendering, integrates with CAD software, collaborative annotation, automatic orthographic views, video animation
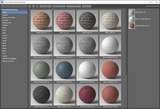
With Enscape version 3.1 and above, users can access over 200 pre-made materials through the new Material Library.
These high-quality materials, which include wood, fabric, brick, and tile, will save users time searching for and creating materials and will help to improve the realism of any scene with very little effort.
How to Access the Material Library
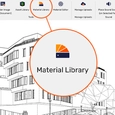
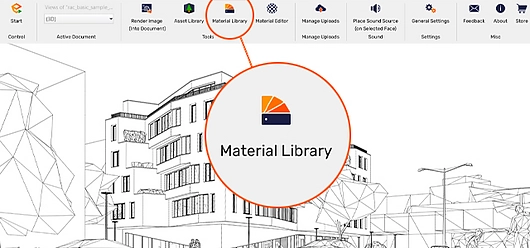
The Enscape Material Library works with Revit, SketchUp, Rhino, Archicad, and Vectorworks. Once the Enscape plugin is installed into your modeling tool, you can start to use the Material Library. You will find the icon within the Enscape toolbar that appears in your CAD or BIM software.
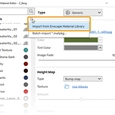
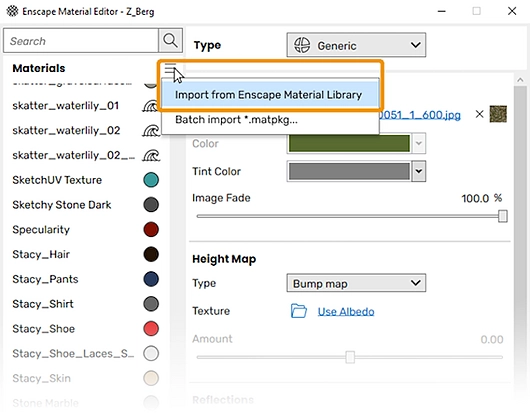
It is also possible to access the materials from within the Library when you are in the Enscape Material Editor. Click on the icon as shown below, and select ‘Import from Enscape Material Library’:
Using the Enscape Material Library
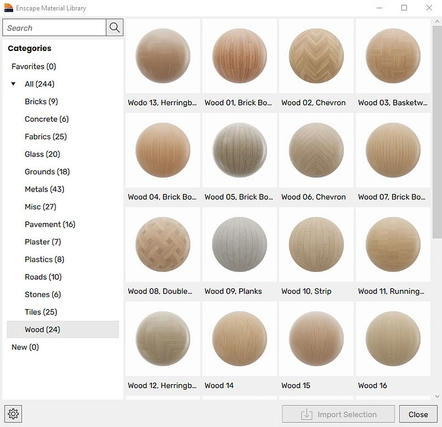
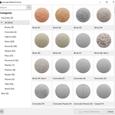
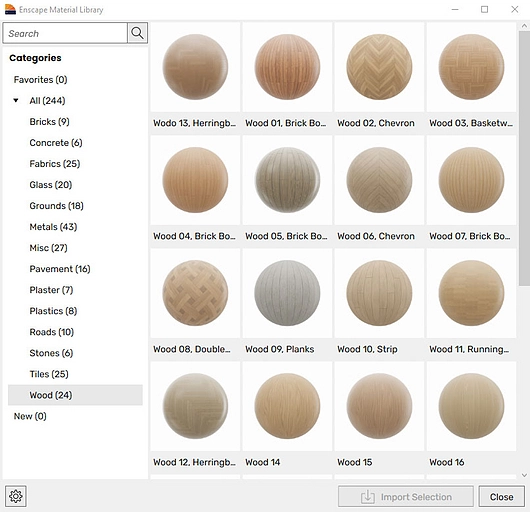
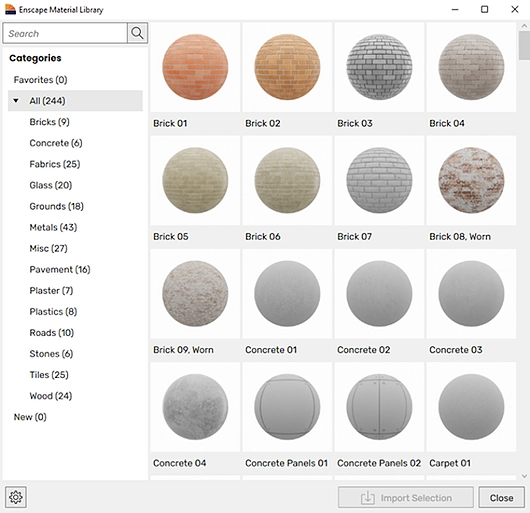
When you open up the Material Library, you will notice that materials are categorized within the left pane to help you quickly locate what you need.
Any materials that have been favorited by clicking the star button in the top left corner of one of the tiles are then shown in the Favorites folder. To remove a material from this folder, simply click on the star again to deselect it.
As new materials are added by Enscape with future releases, they will appear in the New folder. They will also be automatically listed under their respective category.
Importing and Exporting Materials
As well as being able to import materials directly from the Material Library into the Enscape Material Editor, you can batch import and export material packages. This is particularly useful for individuals and teams who want to access certain pre-prepared materials from other projects.
Once imported, you will find the material listed in the Enscape Material Editor, where you can further edit the material if required.
To help you organize your materials, it is possible to change the location that textures are imported and stored to. This feature allows you to store materials on a shared network drive for example.
Editing Materials With Enscape
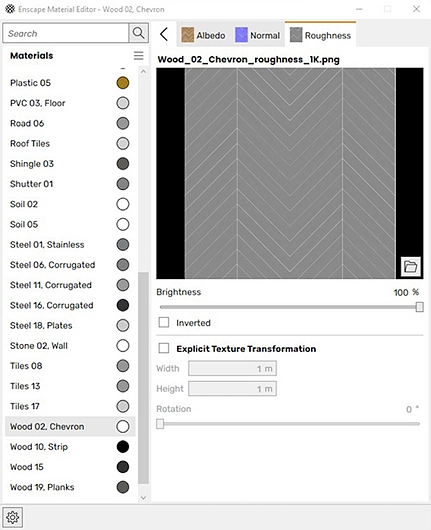
To help you create the desired look and feel for your project, it is possible to edit materials within Enscape. Simply open the Enscape Material Editor and select the material you wish to edit. To help you identify materials, you will notice that a color and material type indicator is provided in the panel on the left.
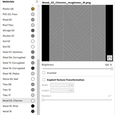
Once you have selected a material, you will see the option to adjust its color, texture, reflections, and transparency. You can also select and apply a height map here (e.g., bump map).
Once a material is in the Material Editor, it can then be assigned to surfaces from within the CAD / BIM you are using Enscape with.
Further Information on Enscape
For further information on how to use the Enscape Material Library, please refer to the Enscape Knowledge Base and review our video tutorials.
To learn more about the latest version of Enscape and to see which new features are planned for future releases, please visit the Enscape website.


