-
Use
Custom Asset Library -
Applications
3D design -
Characteristics
Option to import single or multiple models to your asset library
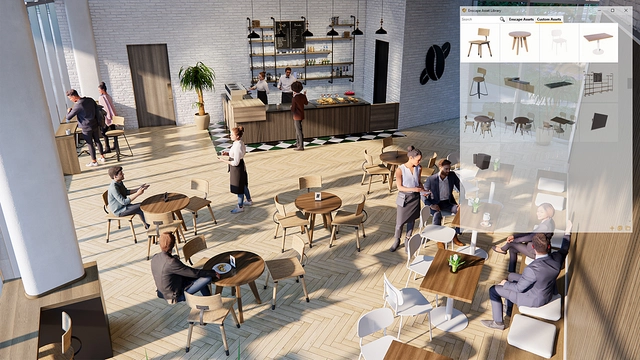
Included in the Enscape 2.9 release is the Custom Asset Library. A feature requested by many within the Enscape Community, users can now add bespoke models to create unique design experiences.
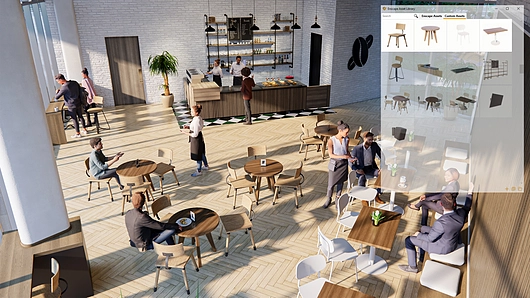
How to Access the Custom Asset Library
Compatible with SketchUp, Revit, Rhino, ArchiCAD, and Vectorworks, the Custom Asset Library sits within the existing Enscape Asset Library so you will need to download Enscape 2.9 to use it.
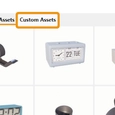
You will see a new tab called Custom Assets at the top of the window.
Click on the Asset Library button in the Enscape Toolbar or find it via the top-level menu within your CAD or BIM software.
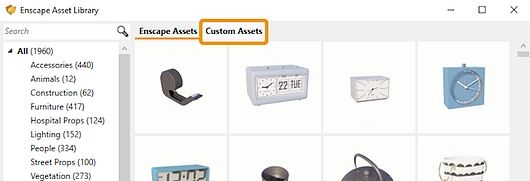
Listing a Model in the Custom Asset Library
To list a model in the Custom Asset Library, you have to define the locations of your Asset Projects and Generated Assets. Then, you can begin importing Custom Assets.
Importing a Model
You will find the option to import single or multiple models by clicking on the Custom Assets tab. The files that are supported are:
- OBJ
- FBX
- GLTF

Only models with less than 20k polygons will successfully be imported. If your model exceeds more than the recommended size in its geometry, it may cause performance issues.
You will know if your import is successful if it appears in the Preview area without any materials assigned.
Creating a Thumbnail
If the file does not include a thumbnail, you will not be able to generate an asset for the Asset Library.
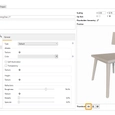
To generate a thumbnail for the asset, simply click on the ‘Take a Screenshot of the current preview and use it as the asset’s thumbnail’ button. If you want to create a new thumbnail for the asset, you can do so by simply clicking this button again.
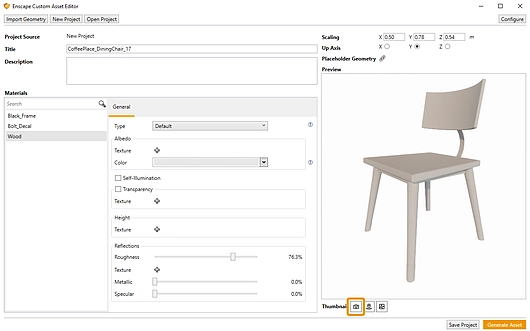
You will notice that the Title, Material Editor, Scaling, and Up Axis details appear automatically, these can be adjusted. This includes the replacement of the Placeholder Geometry.
The materials need to be set up to match the ones shipped with the model. This can be done in the Custom Asset Editor, using the built-in Enscape Material Editor.
You’re able to update the thumbnail once the materials are set up. Your model needs to be set up in the Preview viewport, which determines how your thumbnail will appear in the Custom Asset Library.
Generating Assets
Once you’re satisfied with your thumbnail, click the ‘Save Project’ button. Next, click the ‘Generate Asset’ button.
Your Custom Asset should be listed in the Custom Asset Library.
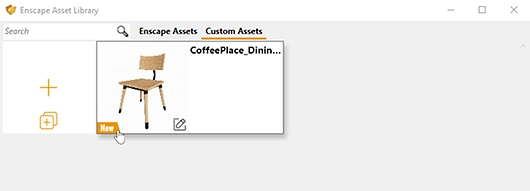
Managing Custom Assets
Placeholders
A model will automatically have a placeholder assigned to it, but you have the option to change it. This is done via the Placeholder Geometry option.
New placeholders must be in the following file formats:
- *.gltf
- *.obj
- *.fbx
They also act as the collision box for the asset.
Deleting Custom Assets
To delete Custom Assets, simply remove them from the folders where the Asset Project and Generated Asset reside in.
You can delete the Asset Project and keep the Generate Asset; however, you won’t be able to edit the asset once the associated-Asset Project is deleted.
Expert Feature
In order to use the Custom Asset Library successfully, it is strongly recommended that you have a solid understanding and some experience of low poly modeling.
For more information on how to set up and manage the Custom Asset Library, visit the Enscape Knowledge Base.
Enscape continually innovates and improves their real-time rendering and virtual reality tool. On Enscape's Webpage, you can learn more about their newest features.


