-
Use
Architectural visualization -
Applications
3D design, collaboration -
Characteristics
Communicate directly in the 3D model with your team and highlight any issues with the project
Effective collaboration is an important aspect of any group project. It can reduce costs, time, and make everything run more efficiently.
Enscape’s new Collaborative Annotation feature takes users one step closer towards a more collaborative workflow. You’ll be able to capture and document issues related to your 3D models and enjoy continuous communication throughout the project experience.
Capturing Issues
An issue refers to something you wish to communicate directly within the project, whether it’s a change request, material suggestion, highlighting a problem, or notifying a team member of a to-do.
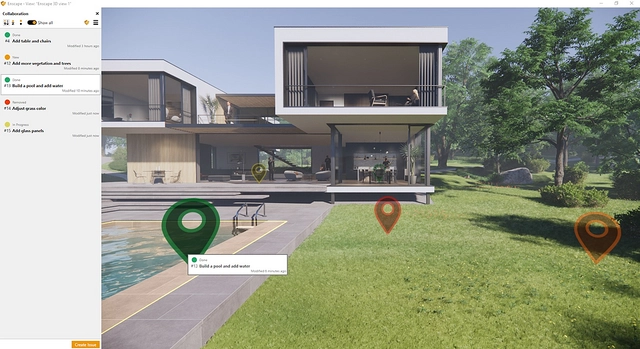
To create an issue, simply press the “C” key to begin the Collaborative Annotation feature. The collaboration panel will appear on the left side of your screen, where you can enter the state of the issue, a title for it, and a description.
Alternatively, issues can be created by right-clicking on a specific position and selecting “create issue”.
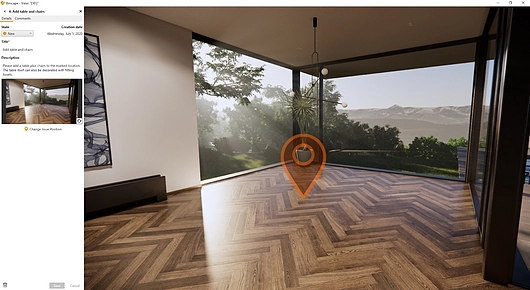
You have the option to change the issue position, which is located underneath the screenshot. You can also create a new screenshot for the issue if you want to.
The creation date appears automatically. Once the issue is saved, you will have an overview of all the issues that have been created.
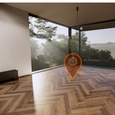
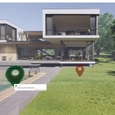
Hovering over an indicator in the 3D model will show you summarized information of the issue. If you click on it, the details of the issue will appear on the collaboration panel on the left and it will direct you to the position of the screenshot. Otherwise, you can also select an issue from the overview.
Annotating Issues
The ability to annotate issues in the project can help you resolve issues quicker. Users will benefit from maintaining the context of every issue and not losing sight of to-dos.
When creating a comment, once you write your comment and hit save, your comment will stay in the overview. You will see the user name, time stamp, and comment. You can sort the issues by user IDs, by title, or by state.
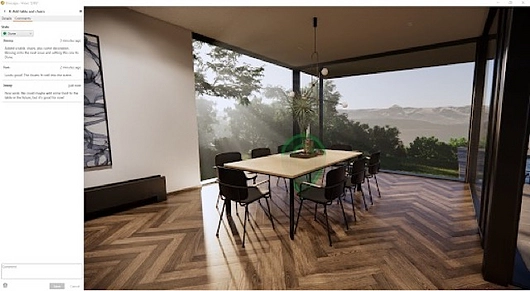
Once the state of an issue is “done”, the issue will be removed from the issue overview list. But if you slide the toggle to “show all”, the issue will appear again with its done state. You will also see all the removed issues - the issues that don’t require further action.
BIM Coordination
An extension of the Collaborative Annotation feature is the live synchronization with the third party web tool, BIM Track. The live sync allows you to share project progress and communicate easily with external contributors without the need for them to install the CAD system in use or even Enscape.
To activate this, go to the Enscape icon in the collaboration panel. It will display the source as “local” and the name of the project you are working on. Change the source to “BIM Track” and then log in. If your sign in was successful, you will then see the message, “Login complete. Please return to the Enscape window.”
Back in the Enscape window, you will have to select the project you want to work on in the collaboration settings.
Note: The issues that were previously created are still saved in the project but they won’t be mixed with the BIM Track information. This allows you to work locally or with BIM Track and have two separate issue domains. For instance, if you want to work on the project internally, you could do it locally, and then work on the project with clients in BIM Track.
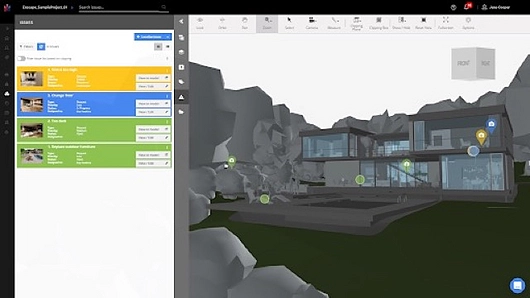
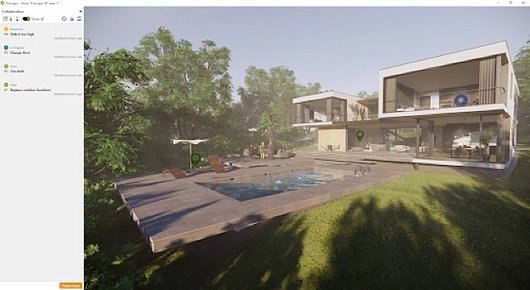
Issues created in the 3D model can be seen in BIM Track once you refresh the browser. It automatically refreshes every five minutes, however, you can also manually force a refresh whenever you want.
To create an issue in BIM Track, in the issues section on the side panel, click the arrow on the “+ localize issue” button and select either “create issue” or “localize issue”. If you select “localize issue”, you will have to select a position first. Issues created in the 3D model can be seen in BIM Track once you refresh the browser. It automatically refreshes every five minutes, however, you can also manually force a refresh whenever you want.
A “create issue” form will appear on the panel where you will have to fill in details such as the title, description, status etc., and the mandatory discipline field.
Once you save the details, click on the refresh icon in the render window and the issue created will appear.
Note: If you don’t create your issue in Viewer, but in Issues, the issues won’t have a position. It will display in the Issue Overview list with a marker advising that the issue does not have a position. However, you can change the location and select a position for it in the 3D model.


